


The Spark
- Sep 15, 2017
- 4 min read
This update is way behind schedule. Blame it on writer's block? It has been a long wait for that spark that makes an idea bright; in this case, the spark that ignites that mixture of oxygen-fuel mixture at the optimal point releasing energy. Power. Though we are not all chemistry buffs, we (petrolheads) have unwittingly come to love this particular process of breaking down hydrocarbons into carbon dioxide and water. Combustion. I digress.
First things first: We have ignition!
This was the long awaited checkpoint. So we were able to put together the main components of the wiring and start up the motor.
One of the key things to get to this point was the fueling seutp. We took out everything from the engine bay side (old), and replaced with the newer components from the donor. The hard lines that run from tank to engine bay would be retained. These remain generally protected as they run through the cabin, underneath the upholstery.
This was the state of the fuel pump we took out: Yikes!

Some nondescript OEM model, probably from a WRX. A few things were out of place with the old setup, but these were about to get fixed up.
The filter: Disaster
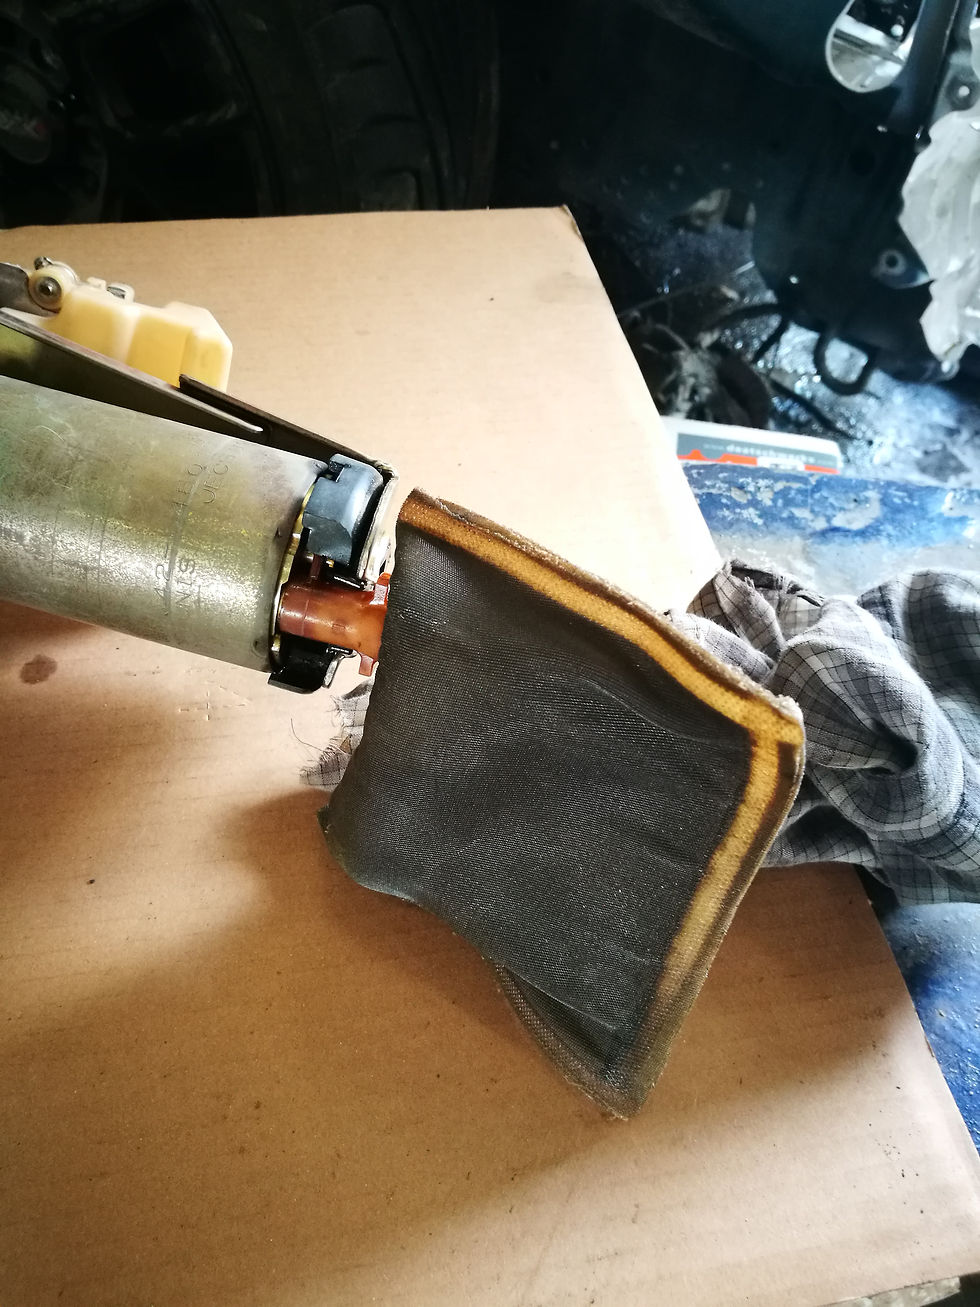
Not sure whether it is the quality of fuel or the fact that the filter had been in service for longer than the manufacturer expected. Off with it! I am surprised that any fuel was able to get through that.
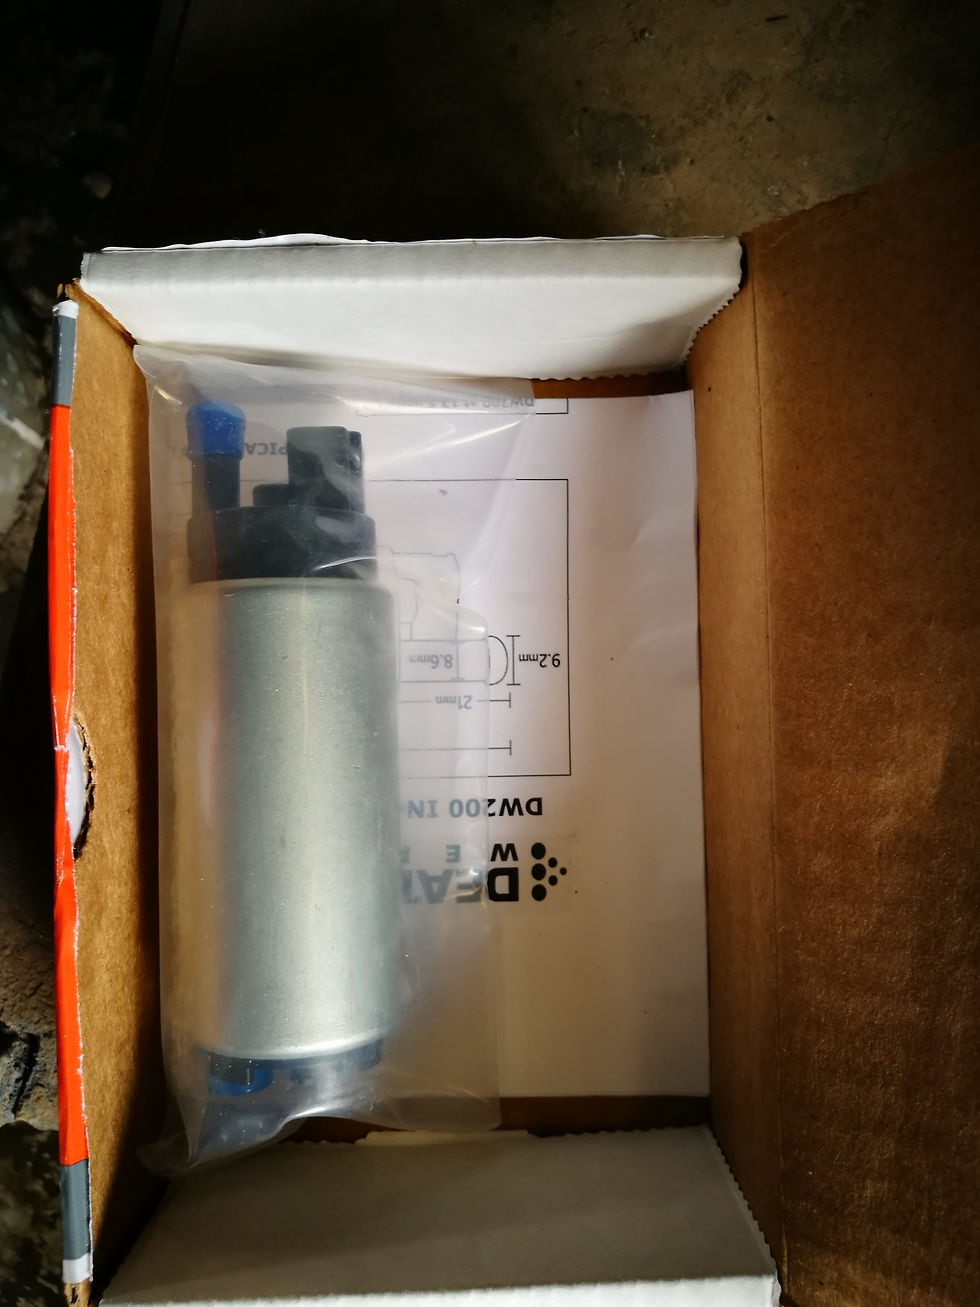
The replacement: DW

The pump of choice was the Deatschwerks DW200 unit. Seeing as we are going for slightly over OEM power level, the 255lph capacity is just about right to keep the injectors happily spraying.
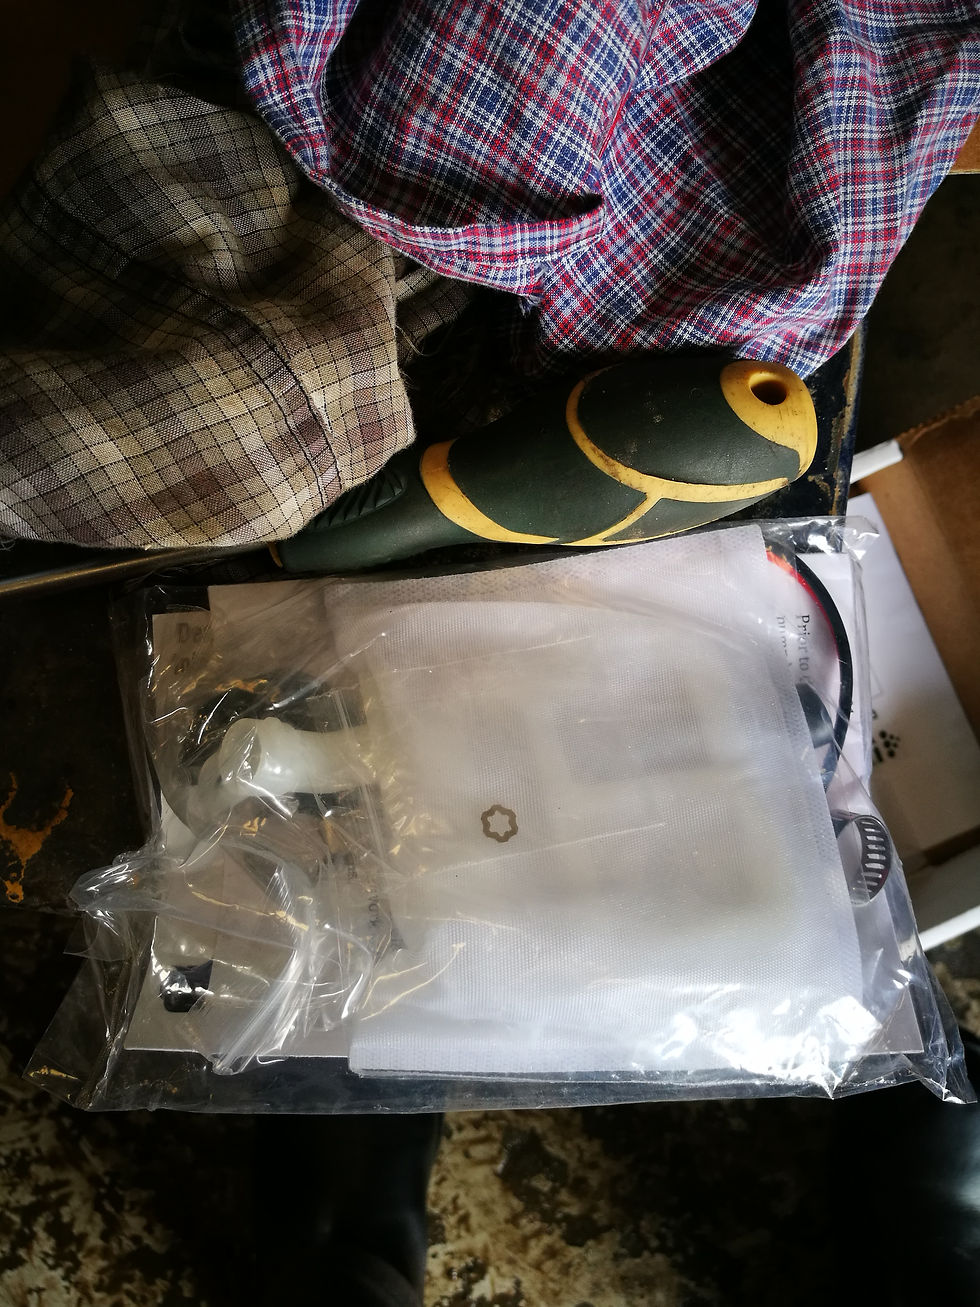
What's in the box: Pump install kit
New filter and pump installation kit.
The assembly and installation was a quick job, relative to the rest of the tasks that lay ahead.
The assembled unit: Ready to drop in.

The new unit was put together and ready to drop in. While it was not what I wanted, this would have to suffice for now. This is in order to get the car moving for the rest of the assembly and testing. Future state: The MY05 Spec C fuel pump setup with the anti-surge assembly.
With the pump in, the next step was to do a quick overview of the entire wiring loom and take inventory of any missing items, then commence the threading process.
Harness layout: Stretched out
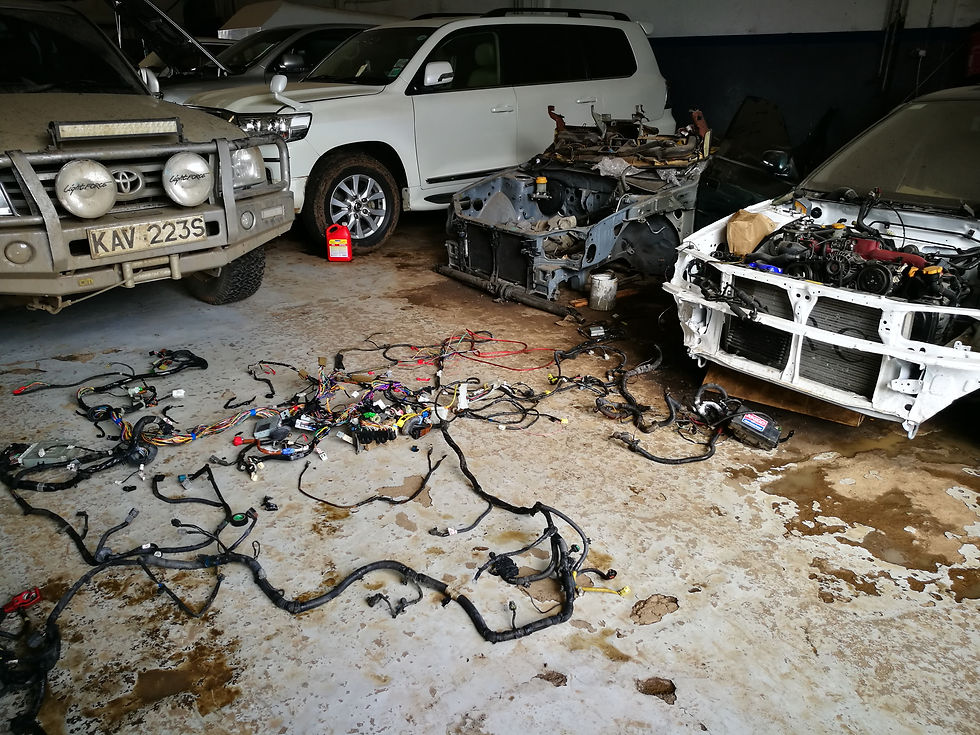
For a moment there it was overwhelming. The sheer amount of work that lay ahead. Good news was that all the critical components (plugs and sensors) were available.
Many hours later: Threaded in

Many hours later, the dash is out. The interior carpeting and plastic fittings are also out to allow access to the bulkhead harness and the rear harness. Now I have to warn you, when you go to such depth on a 20+ year old car, you need to be prepared for a lot of unpleasantness. The car was full of dirt, grime and probably tetanus. That notwithstanding, the wiring had to be done.
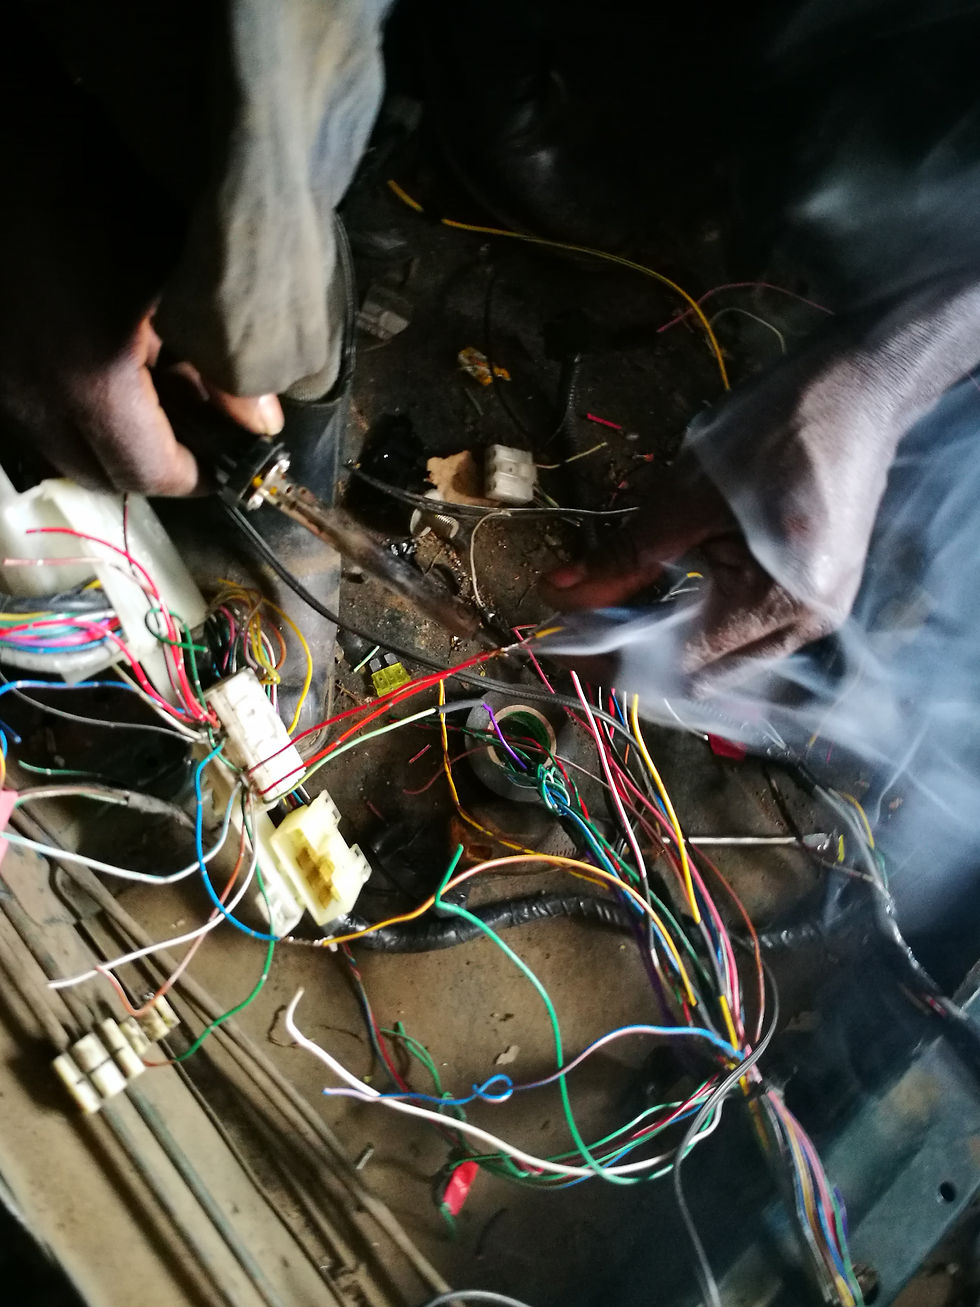
The wiring process was painstaking >> Trace and match the wires. Twist join. Solder. Heat shrink wrap. Test connectivity. Tape. Zip tie cluster. Shroud. Tape. Repeat for every wire or group of wires. Long days ahead.
Wiring threading: To the ends

On the outside and engine bay side, the various harness ends were threaded through the frame to the expected final position and held in place with zip ties.
Engine bay wiring: falling into place.
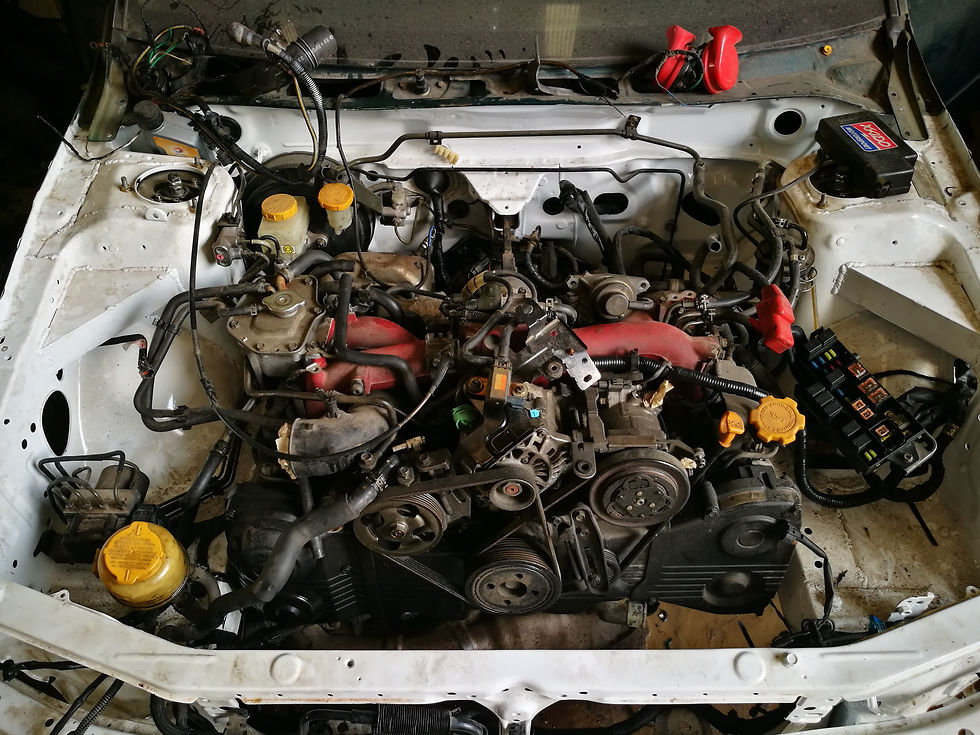
Wiring into the bay through the firewall had also been pulled through. Repositioning of the fusebox, screen washer bottle and horns will be interesting. Battery gets relocated to the trunk to create room.
The firewall: Workarounds required

For the harness bits passing through the firewall, there were obvious differences in the shape and size of the rubber grommets. A local solution for these would be crafted. Details in a later post.
The work area: wiring in progress

One view of the working area.
Battery relocation kit: High grade cables

The power lines for the relocation.
Shrouding: Keeping things insulated

This was the shrouding selected for the positive power line. To keep things insulated. The ground line would be tapped at different points.
Battery box: Marine spec - view 1

Battery box: Marine spec - view 2

This is the battery box that will hold the battery in the trunk. Marine spec. Bracket will be fabricated to mount in the trunk.
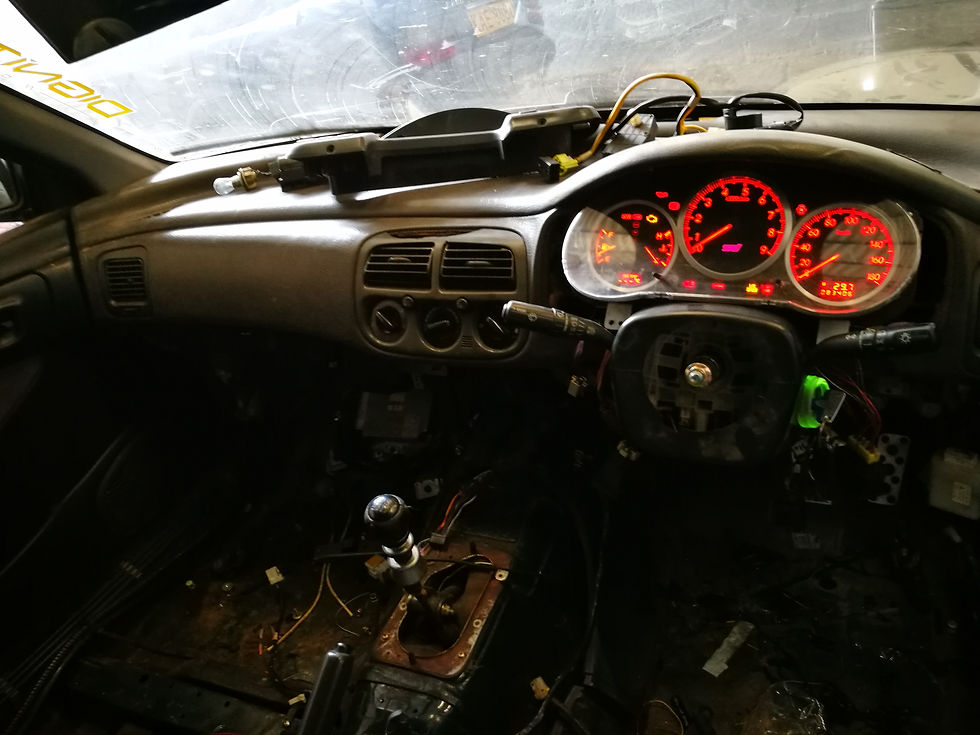
Interior cleaning Step 1: Wired up

This is the in-cabin view after some vacuuming and wiping down some of the dust. At this point, the dash wiring had been merged but still needed a couple of items tested and wrapped.
Planned trunk layout: Water and Power

We setup a mock up of the expected final state of the trunk layout. The IC spray kit will sit on the right hand side and the battery on the left. Wiring has been laid out with this setup in mind.
Exhaust setup: Too long

The exhaust setup was also done to test fit the catback. Clearly there is a size difference in the downpipe setup as the ZeroSports pipe seems to have introduced an extra 4-5 inches. More modifications required or full replacement. Decisions decisions.
Parting shot; the interior setup dry fitted to test tolerances. From here, the next steps are to wrap up the open ends with the wiring and move on to the full interior setup. And then bodywork.
Comments