


Sense of speed
- Nov 28, 2017
- 5 min read
The past couple of weeks have truly given me a sense of speed. Sense of speed and some sort of key milestone events for the automotive industry. Tesla just unveiled their ace roadster and truck lines; record breaking, norm challenging line and possibly the next step in the evolution of the automotive industry. In case you are wondering whether I will strap on an electric motor to this contraption, well, the answer is, "Eventually". If sponsors come around.
Singer also dropped their latest rendition of the 911 from circa 1990, with inputs from a Dynamics and Lightweighting Study undertaken with Williams Advanced Engineering and other technical partners, and it is nothing short of a thing of beauty. A perfect example of how far we can stretch our imagination on these builds with the right resources. All these serve as inputs, fodder for like creative minds to chew on even as we try and complete these project cars.
Outside of these inspirational advancements, the team over at Diastar were able to put the GC on the fast track for bodywork. Let me get you all up to speed on what's been done so far: warning - long post alert!
Also, the pics may not necessarily appear in chronological order.
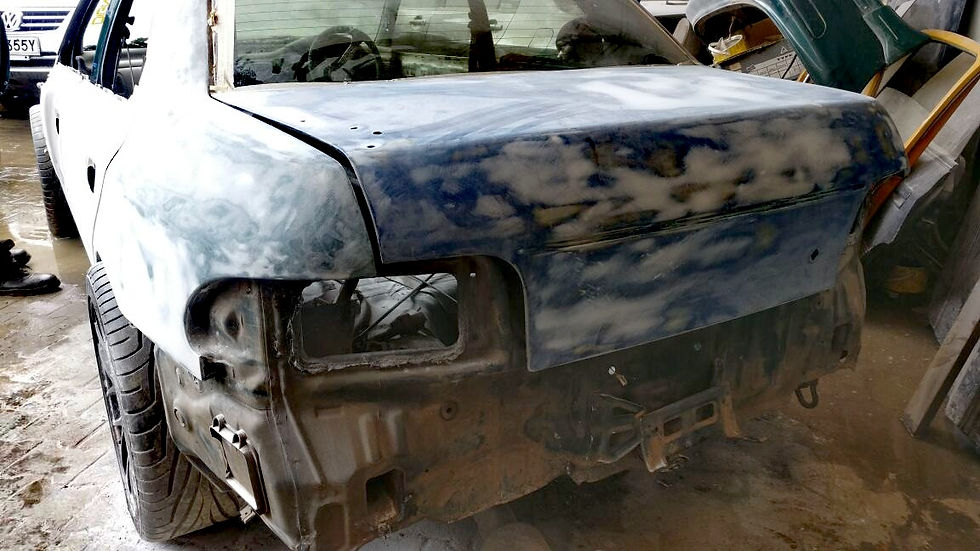
Rear end completion: Trunk lining

RHS

LHS

From the last post, there was quite some cleanup required around the boot lining. Worries of windscreen removal notwithstanding. Somehow, they did manage to work on cutting out the corroded areas and welding on the new plates and panels without having to take out the rear windscreen. A double win for us.
The idea here is to regain structural rigidity as well as a sound sealing surface to keep out the elements. Especially water.
Spare wheel well: Drain

The "spare wheel well" also got some nip-n-tuck treatment. Ground down to shiny metal surface and drain hole resized to our requirement. A rubber bung will be the final piece here to seal the drain hole.
Straightening & Smoothing
With the key areas treated for corrosion, it was time for the straightening and smoothing. Here, a combination of meticulous skill and patience was required; both of which I can confirm are available in surplus over at Diastar.
These pictures do not do justice to the amount of work that went in. But in summary, this was the process:
1. Structural and Body repair, commonly know as panel beating (realignment, welding, planishing)

New trunk lid

Rear
Once the rear bumper was unbolted, it was kind of a nice surprise that the underlying frame was pretty clean. No hidden dents, no cracks and no unsightly rust. All that will be required here will be a refresher on all the surfaces.
2. Filling & sanding where necessary. There is a Golden rule to only use a modicum amount of filler for the best results.
3. New panels prepared and installed. Possibly more realignment, filling and sanding where necessary. In our case, four doors and trunk lid fresh off the boat. Supplied by @Hussein over at Version6 Auto.
4. Priming, sealing and corrosion protection. This surface prep is one of the most important steps. A failure here will lead to your paint coming undone in a rather short time.

Rear: Primered

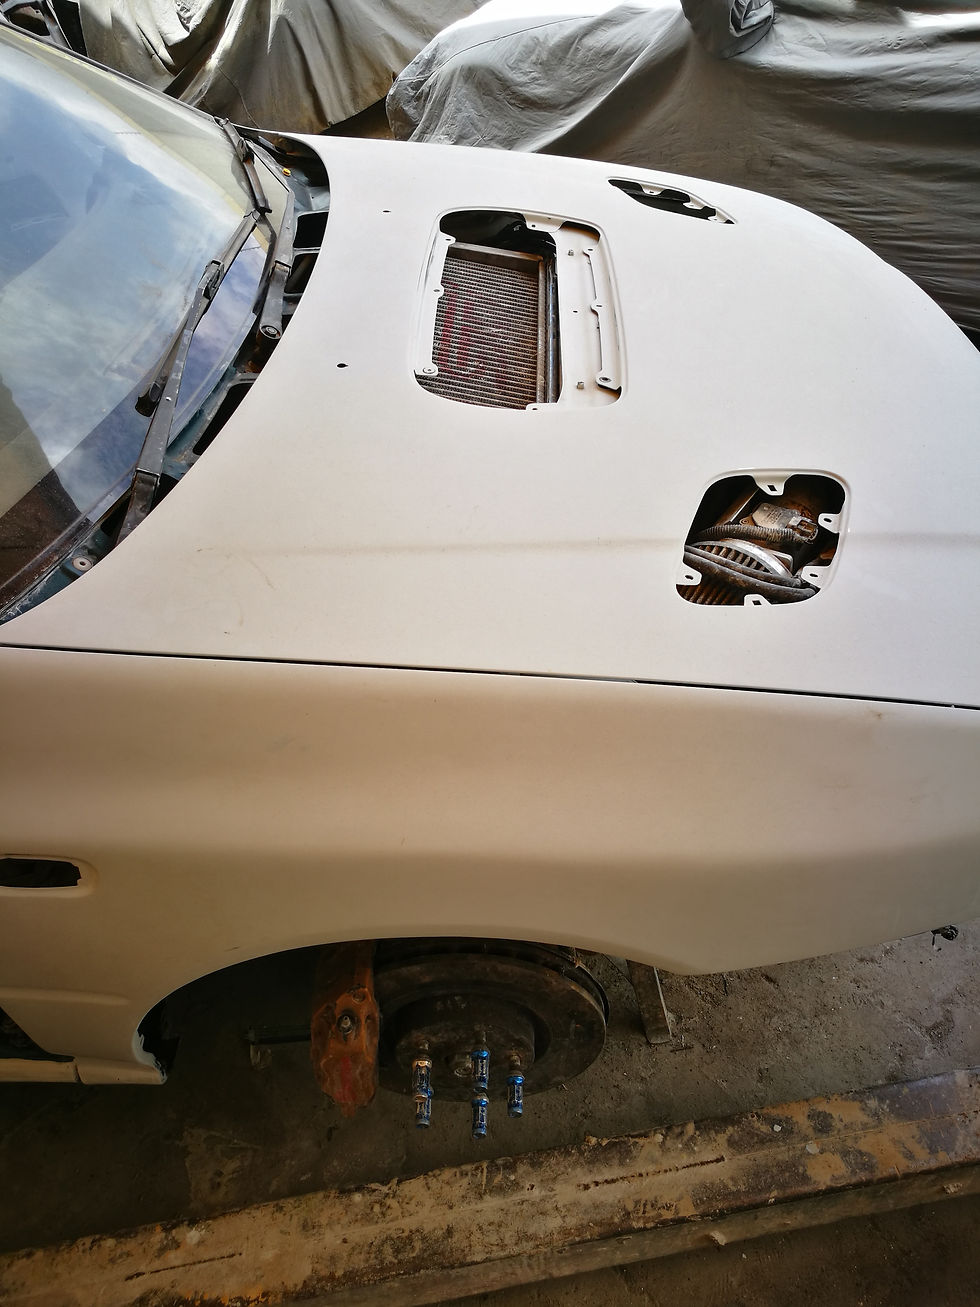
Top view of the boot lid
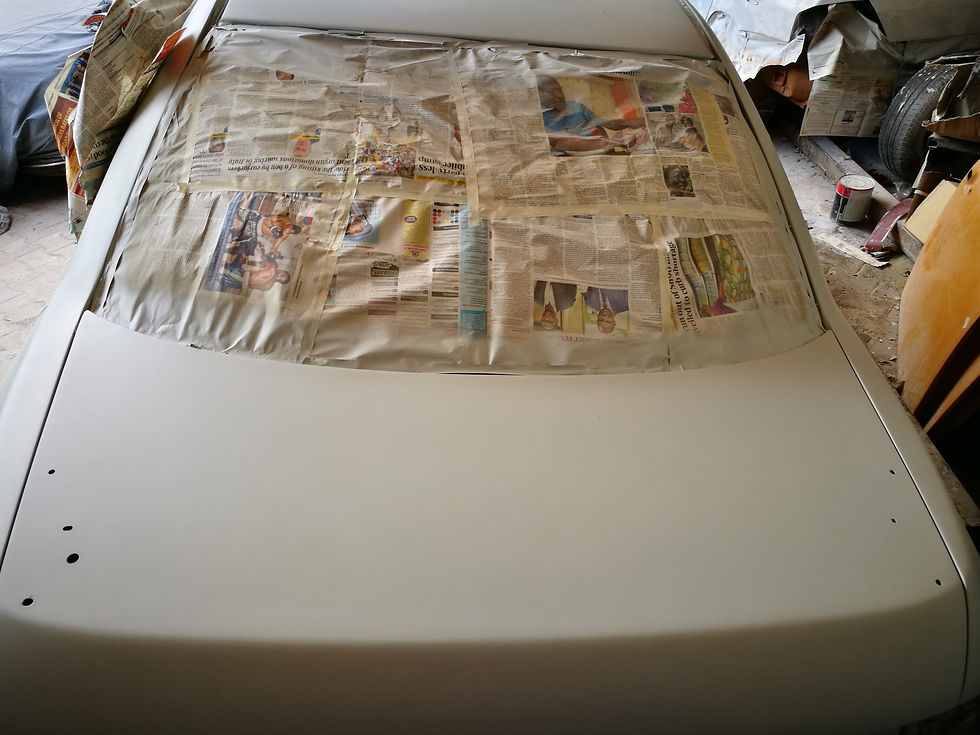
In case you are wondering why the holes are assymetrical, the extra hole is for the wiring routing to cater for the high mount brake light on the spoiler.
Front LHS
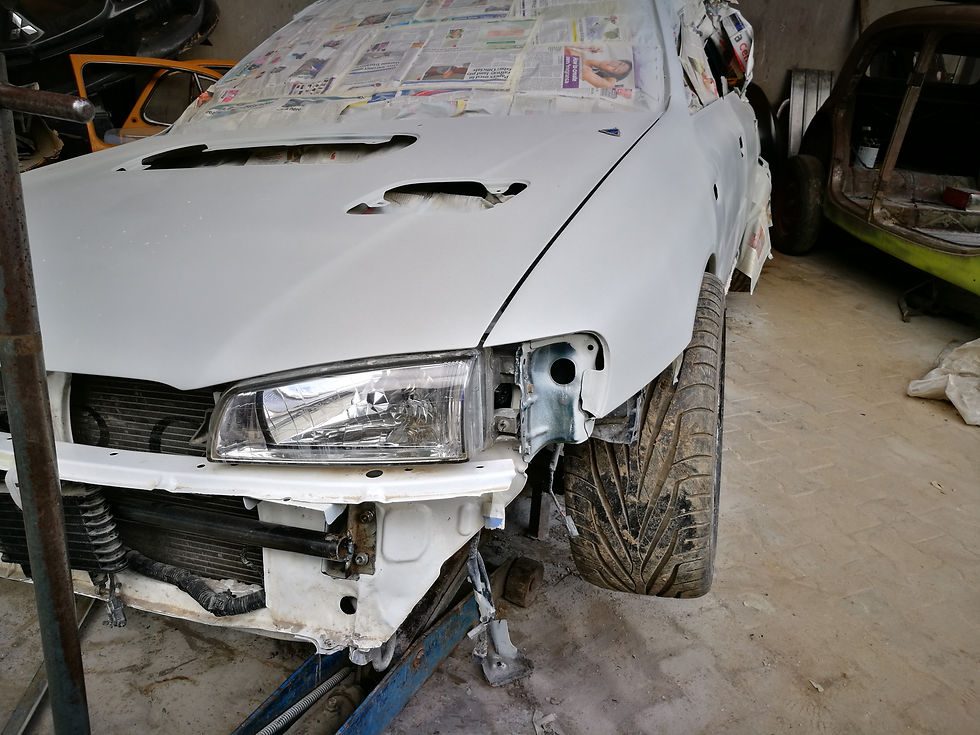
Front RHS

Another angle

Lines lining up perfectly.

A good sign for the work to come.
5. Inspection. All work must be checked and rechecked before it is approved as ready for the spray booth.

LHS check

RHS check

Hood check
6. Surface Cleaning, pressure washing and smoothing is done to prep for the next primer.
7. Final smoothing, priming and sealing is done before a final washdown. The car is then blown dry and taping and masking done in the paint booth, ready to get some licks of paint.

In the booth

In the booth, waiting for drying and taping.
Front quarter panels off as part of prep.
Body Panels: Doors

One of the artisans working on the doors prep.
Body General: Door sills

Sills.

Sills prepared for paint.
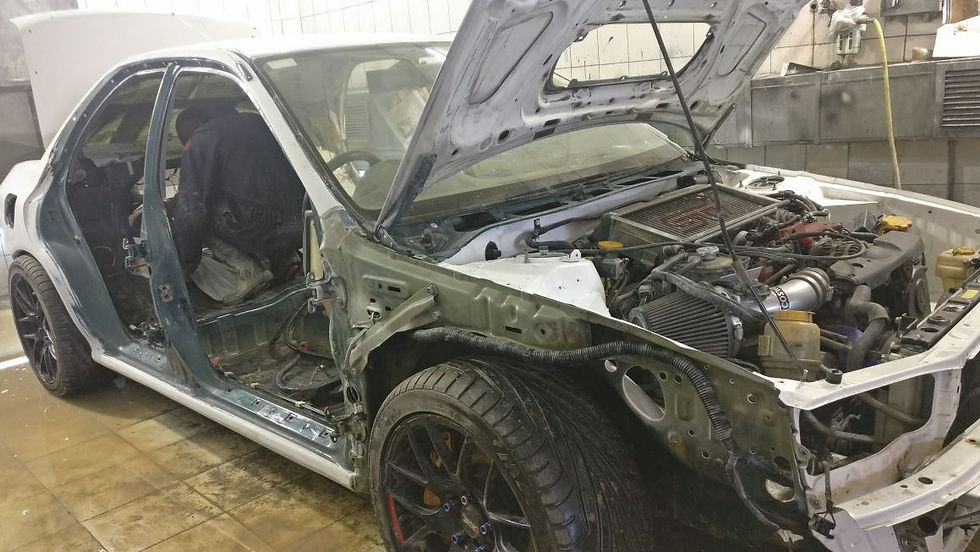
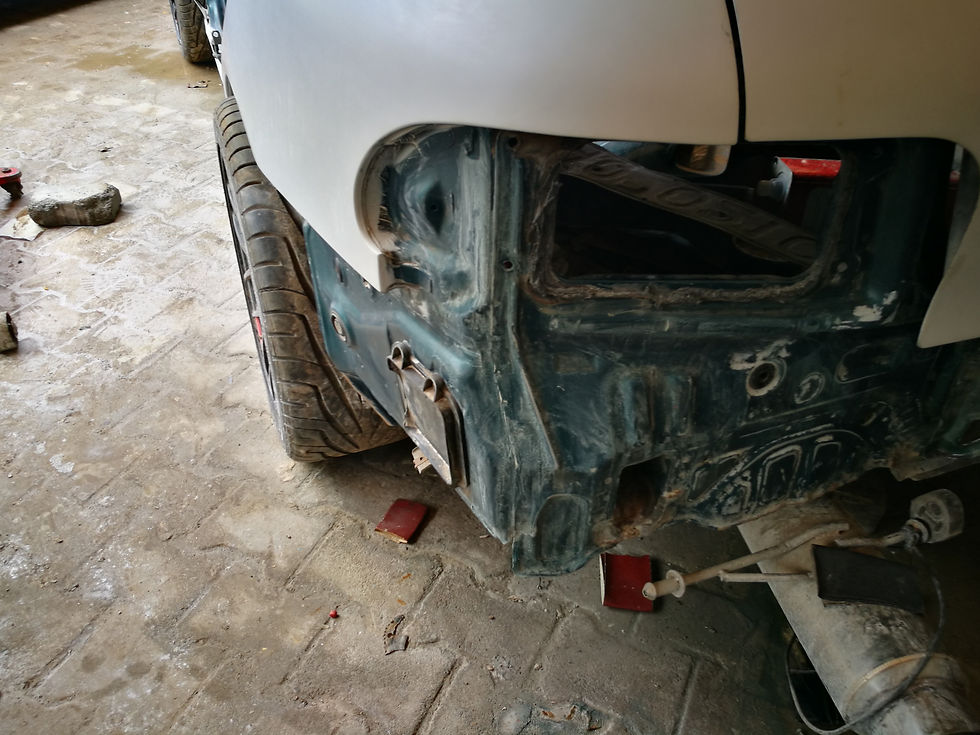
Front End: not thought this through?

The initial plan here was to port the front crash-bar from the MY-05 spec-C. Not very well thought through I must say, as there were significant structural differences in these cars. The GC chassis did not have a front crash-bar; not sure whether it was weight saving or someone just forgot to submit their design homework. We would have to fabricate one from scratch.

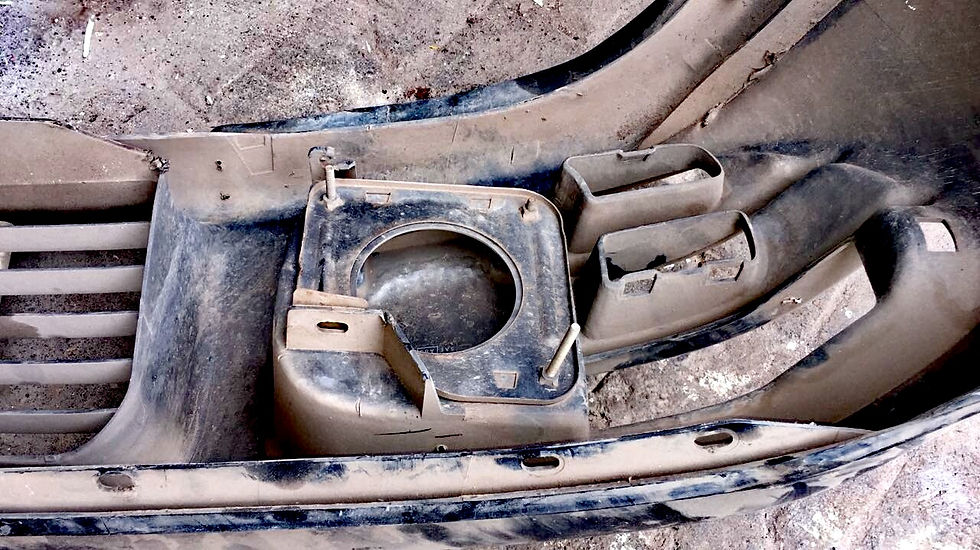
Some discoveries we made along the way: previous individual charged with fitting the bumper on this car must have been quite a lazy bum. When they found that the fog light section of the bumper was touching on the bumper mounts (obviously designed for another bumper type), they decided to go the Clarkson way and cure it with a hammer! Alarming to say the least, especially because these parts are bolt on and could easily have been removed.
Front End: It all started with a sketch

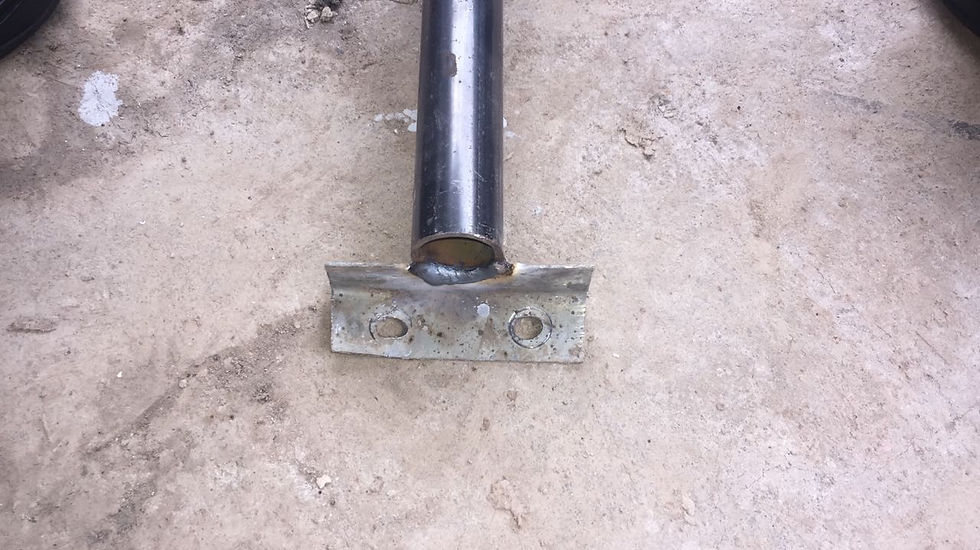
First cut of the planned brace. It all started with a sketch, hardly qualifies for a technical drawing, but you get the idea. After a first mock up and some dry fitting, we found that this would interfere with the oil cooler mounting and had to switch up some design details.

Brace and end bracket spot welded for test fitting.
Here is where the trouble began.
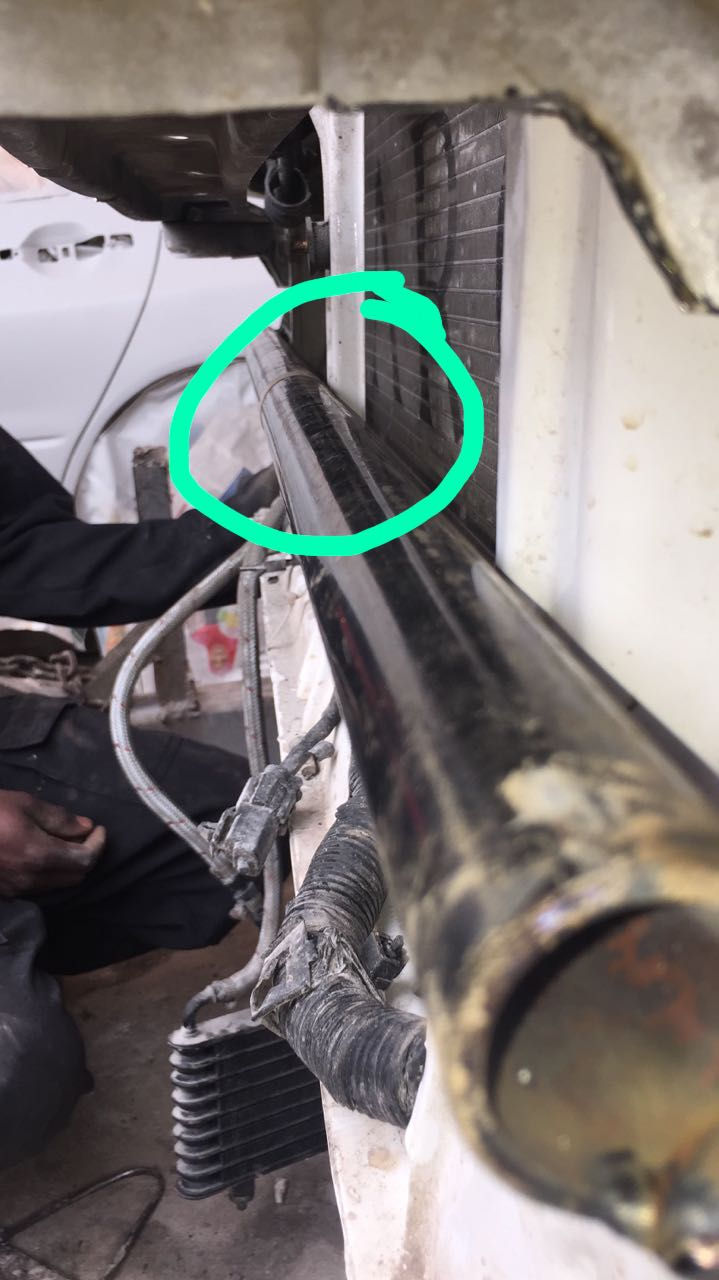
Eventually, we agreed on a design that would meet these requirements.

Revised design to give it some lift while at the same time provide reinforcement for the end brackets. This was just the sketch to get things started.
Front End: Bracing In Progress

End bracket reinforced.

Next up, paint prep for the bracket. Ignore the rust - this is just surface rust from exposure.
Side view: Oil cooler bottom mounts welded in place.

:-)

When things fall into place. Difficult to explain for those who have never had to piece something together from zero. Those who get it, get it. things were looking good for the custom brace. Just some finishing touches and some swathes of paint required to sum it up. Now imagine it in some rare shade of arctic blue or midnight purple. Perfection, or close enough.
Wheels: too meaty
Real quagmire here. Current wheels require additional extensive bodywork to get that perfect, shirts-tucked-in fit. Been on a wild goose chase for wheels with a stock offset (44?) that would still clear the brembo calipers. The search continues. Hoping to unveil something fitting soon.
Calipers:
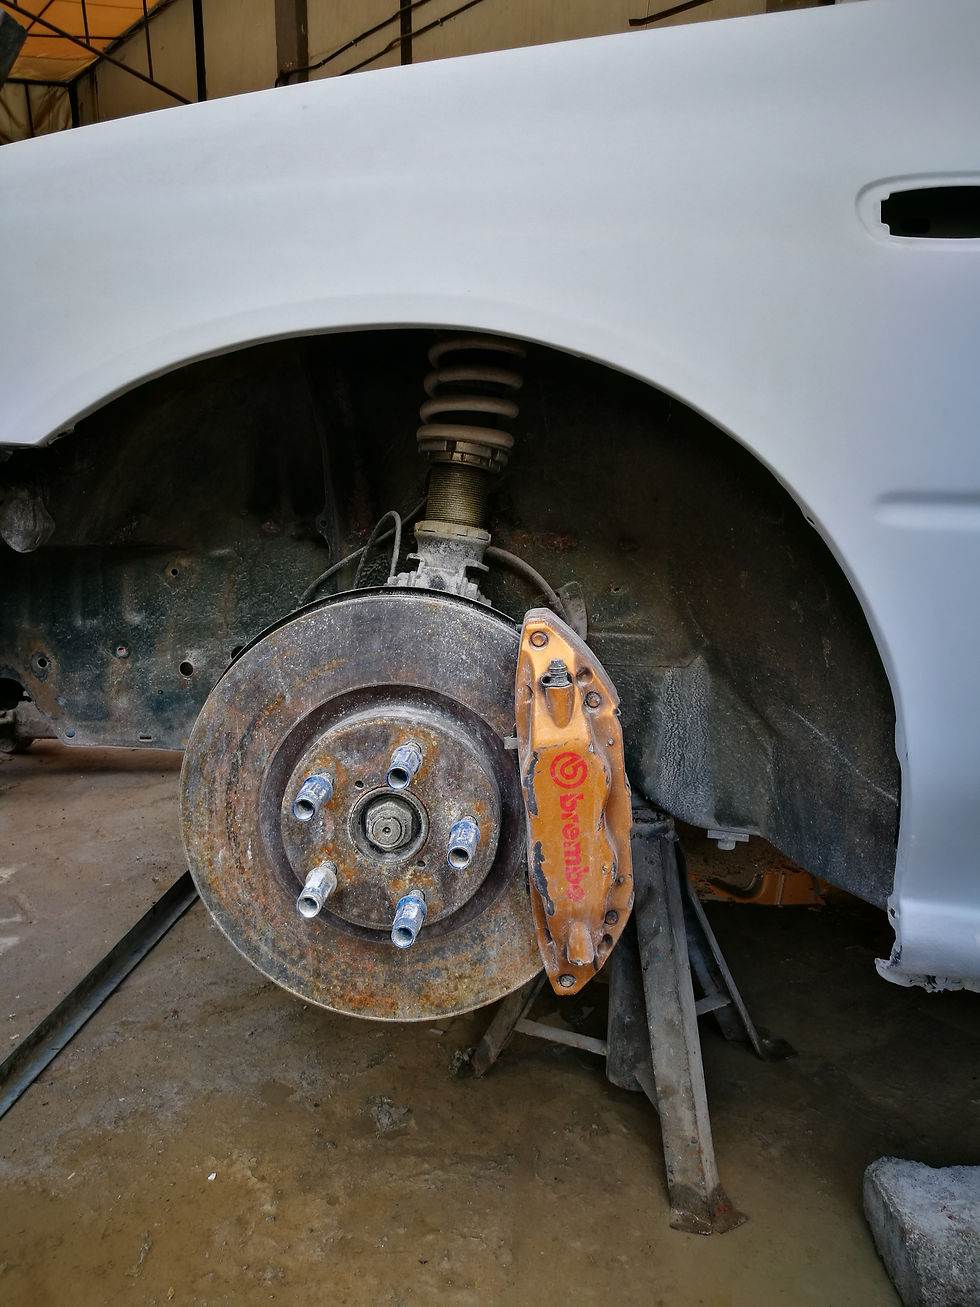
Front setup.

Rear caliper setup.
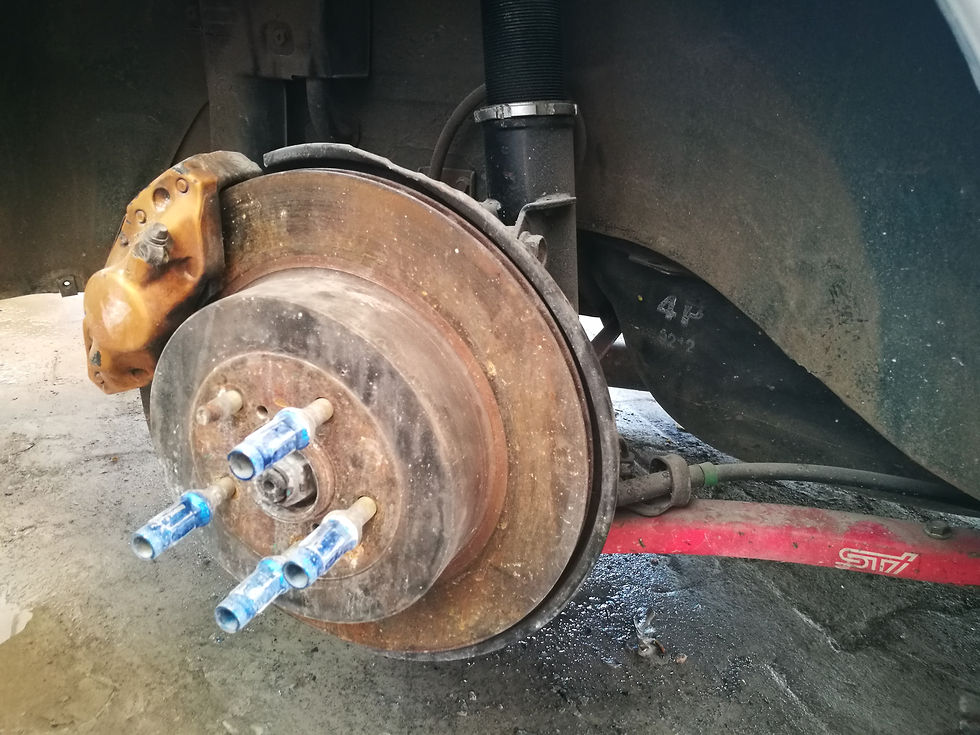
These will be redone in red with white brembo decals. Simple and functional.
Pending Mechanical work: Rear Lateral Arms, Rear Brake Lines fitting.
Wish list: Rear strut brace

Coming soon, I hope.
In the booth:

Next Steps: The paint booth, then on to interior finish. Some exhaust work is also coming up. Hopefully by the next update it will be looking less like a shell and more like a people carrying grocery-getter. A quick one at that.
Loved it. 4th I’m reading it, and feels like the first. Very well expounded on